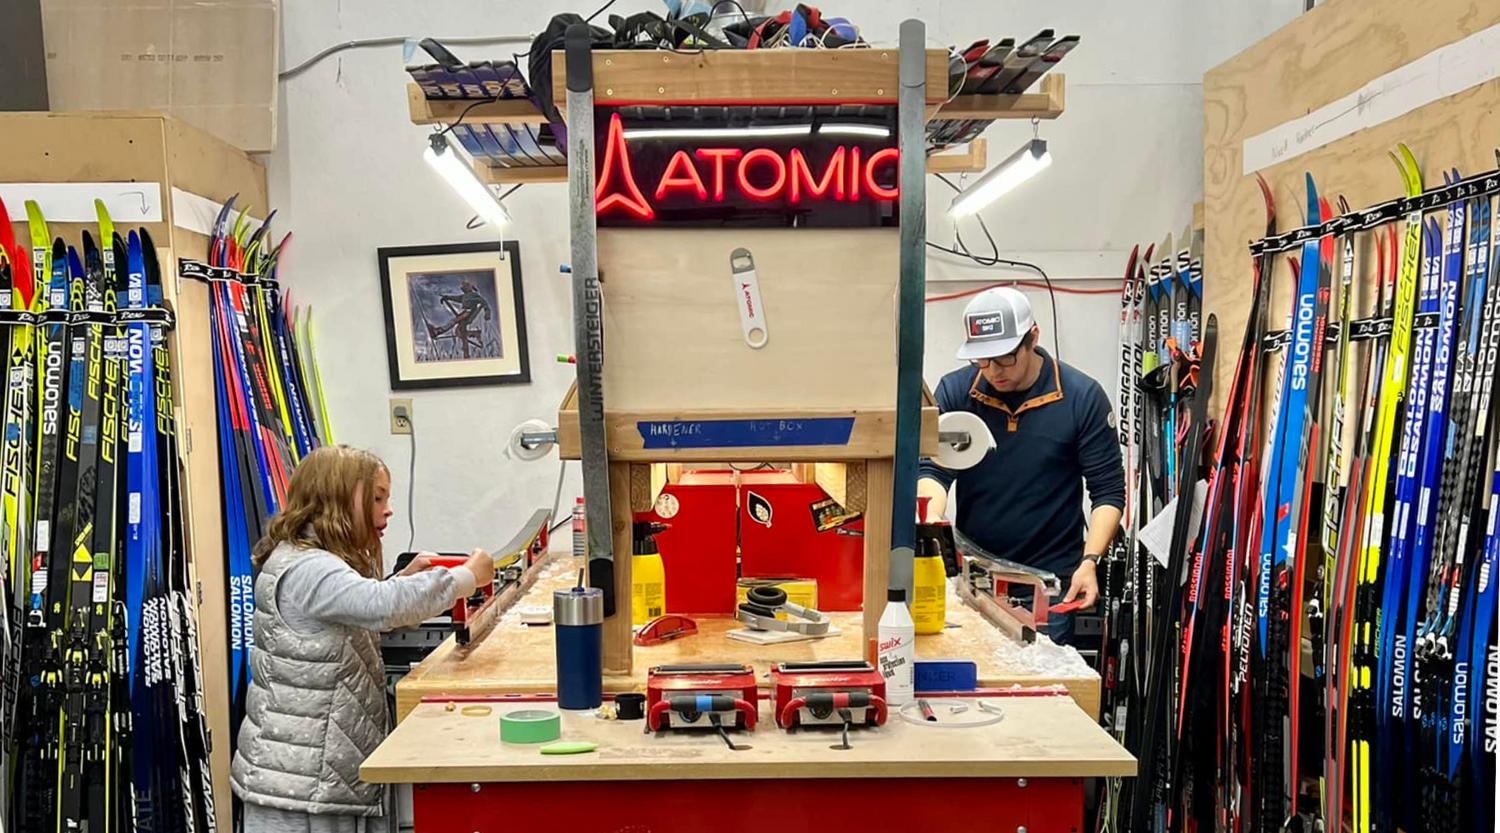
The first step to hot waxing skis is finding an area with good lighting allowing you to see the bench/profile well. Brush your skis with a metal brush lightly to clean them before applying fresh wax. In the case of dirty skis, a liquid glide cleaner can help remove dirt and grime from the bases.
Applying wax to the skis with the crayoning method reduces wasted wax and has better base coverage than dripping. Before ironing the ski, be sure to set your iron to the suggested iron temp found on the wax box. This is important for reducing the chance of burning base material because too hot will burn quickly and too cold often leads to moving the iron slowly which can also lead to burning. Consistent pressure and iron movement will often create enough bonding of wax in just one pass. For skis that are not flat or when using very hard waxes, some people choose to iron twice but only doing one side of the groove each pass. Small missed spots can be ignored, but if touch ups are needed, we recommend recrayoning over thin spots and waiting until the ski is cool before reironing.
Once the ski has cooled completely, clean the edges and groove with your groove pen. Next, use a sharp scraper to remove the excess wax from the base of the ski moving only from the tip to tail. Sharp scrapers can sometimes clean a ski in one pass, investing in a new scraper or a sharpener can save a ton of brushing.
With a well scraped ski, use a metal brush (in the same direction every use) from tip to tail. It’s essential to only go one way with metal brushes as they can cause damage with reversed bristles or too much pressure. Once the structure appears to be cleaned from excess wax, move to a horsehair followed by a nylon. These brushes can be “scrubbed” forwards and backwards on a ski or from tip to tail like a metal brush. The goal of a horsehair and a nylon are to polish the base. There’s no such thing as over brushing with a nylon but it has diminishing returns.
The more you wax, the better you will become! The right tools make a big difference and can save a lot of time and increase the performance, here is a list of tools used in the video.
Tools needed
- Iron (ideally digital)
- Scraper
- Metal brush (fine steel or brass)
- Horsehair &/or Nylon Brush
- Groove pen
- Scraper
-
Bench and profile (w/ good lighting)
Common mistakes
-Dull scrapers waste time and are often the reason for out of breath wax techs
-Under brushing or scraping sometimes appears like a burn spot. The shiny structureless base loses its ability to wick away water and glide well on snow.
-Burning base material is the most common way to decrease a skis performance. Burn marks often look shiny and don’t retain wax as well as healthy base material. Burnt skis usually require a stonegrind to get brought back to life. Here are a few culprits when it comes to burnt skis.
-Too slow- keep your iron moving at ALL times!
-Too hot- only set the iron to the manufacturers recommended temp!
-Too cold- cold irons often moving the iron too slowly
-Too many passes too often- refrain from ironing too many times before the ski cools
-Dripping wax- this can cause short stops while ironing that can cause burn lines
-Moving iron back and forth- DON’T!